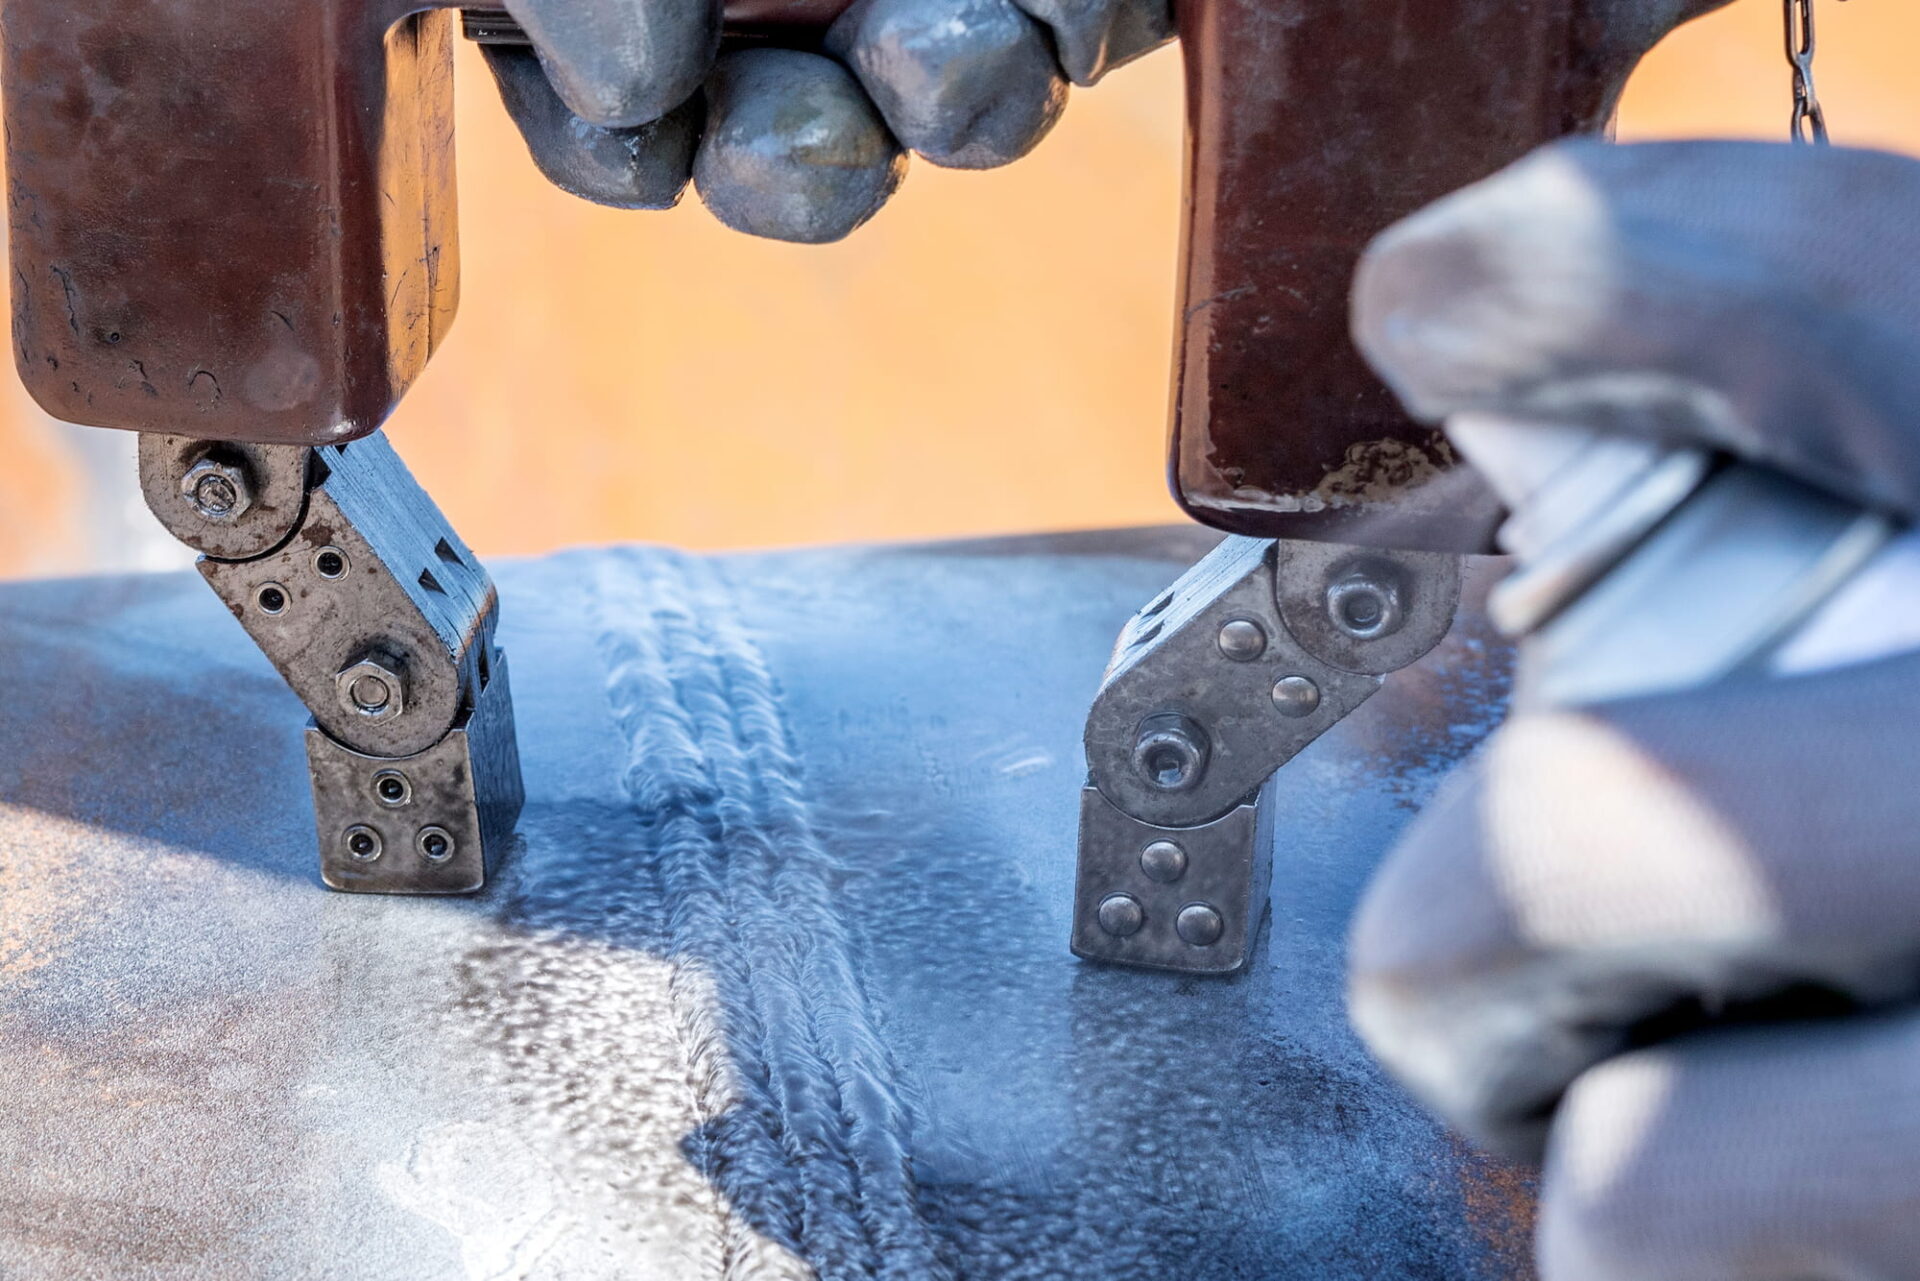
An article by Rich Goodwin in Quality Magazine, “Choose the Most Reliable MPI Method for Your Business,” provides readers with information about three different magnetic particle inspection (MPI) methods and compares the level of detail in their test results when performed on the same test piece. MPI identifies surface flaws in metal products that can be magnetized. This type of nondestructive testing has been performed by Laboratory Testing Inc.’s Nadcap-accredited lab for 40 years.
Learn more about the MPI test process.
Comparing MPI Methods
The three techniques outlined in Goodwin’s article are:
- Visible dry powder with an alternating current (AC) yoke
- Visible dry powder using full wave direct current (FWDC) in a horizontal bench unit
- Fluorescent wet by full wave direct current (FWD) in a horizontal bench unit
As noted by Goodwin, “Magnetic Particle Inspection can be performed a number of different ways, and oftentimes, any of these methods are acceptable under the specification called out for performing the test.”
He explains that these methods vary in terms of ease and time to perform and the level of detail provided in the test results. “Since safety and reliability are priorities for anyone in a position responsible for quality, when given an option, it makes sense to choose the MPI method for your finished products that will provide the most dependable results,” suggests Goodwin.
Knowing the Reliability of Results
Goodwin compared the effects on the test results of different electrical currents (AC versus full wave DC) and types of medium or particles (visible dry powder and fluorescent wet suspension) used during testing with the 3 MPI techniques. The findings were that when the MPI test method was not specified, the fluorescent wet method was more effective and accurate than visible dry inspection.
Quality Magazine is a monthly publication that serves the quality assurance and process improvement needs of manufacturing professionals.
If you need an experienced, quality-oriented laboratory for MPI, contact LTI for a quote.
Related Articles
Introduction to the ASTM E606 Standard
Low-Cycle Fatigue Testing and the Standards Set Forth by ASTM In the world of engineering, materials are often subjected to…
The Top 5 Consequences of Industrial Operations Not Calibrating Their Equipment
In the fast-paced world of industrial operations, precision is not just a goal—it’s a necessity. Calibration of equipment, a process…
The Benefits of Choosing a Calibration Company that Offers Instrument Replacement and Purchasing Services
In the demanding world of industrial manufacturing and quality assurance, selecting the right calibration partner can significantly impact your operational…
How Small a Defect Can UT Find
Customers often ask LTI how small a defect ultrasonic testing (UT) can find. This question is very difficult to answer…
Ethics in Laboratory Testing
What could be more important than ethics in the world of materials testing? Testing laboratories have an obligation to adhere…
Quality Considerations in Chemical Analysis
A Well-Planned and Managed Quality Control Program When you need chemical analysis services, you expect to receive accurate testing and…
