Services

Microhardness Testing

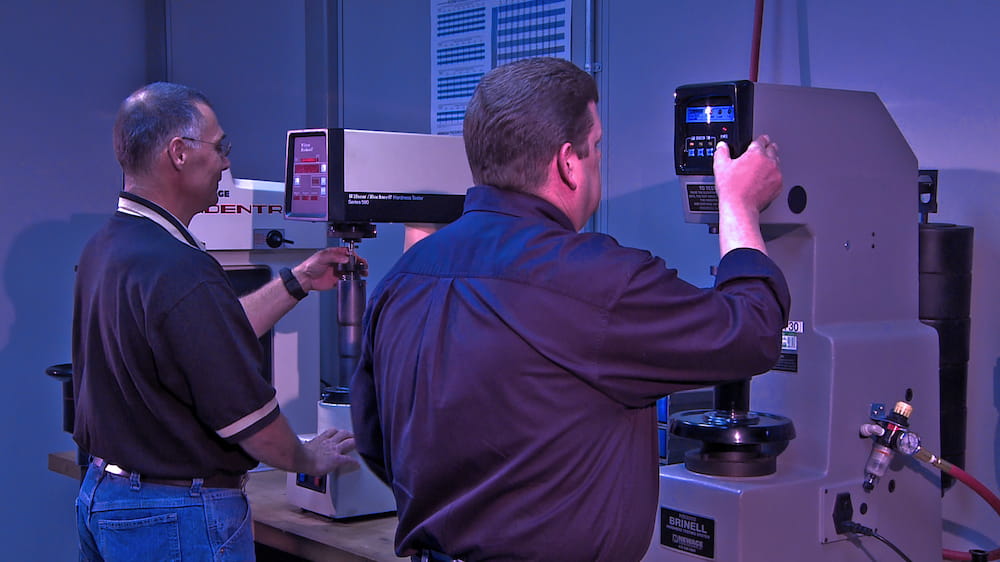
LTI Techs testing performing a hardness test.

Hardness measures a material’s resilience to metal deformation from indentation or abrasion. Hardness is a complex material property due to ductility, toughness, viscosity, and more. Fortunately, measuring hardness is relatively straightforward, relying on a sample’s scratch, indentation, or rebound process. Microhardness testing uses high-powered optical resolution to determine the depths of material deformation and is one of the test services available at Lab Testing Inc.

Microhardness Testing Processes
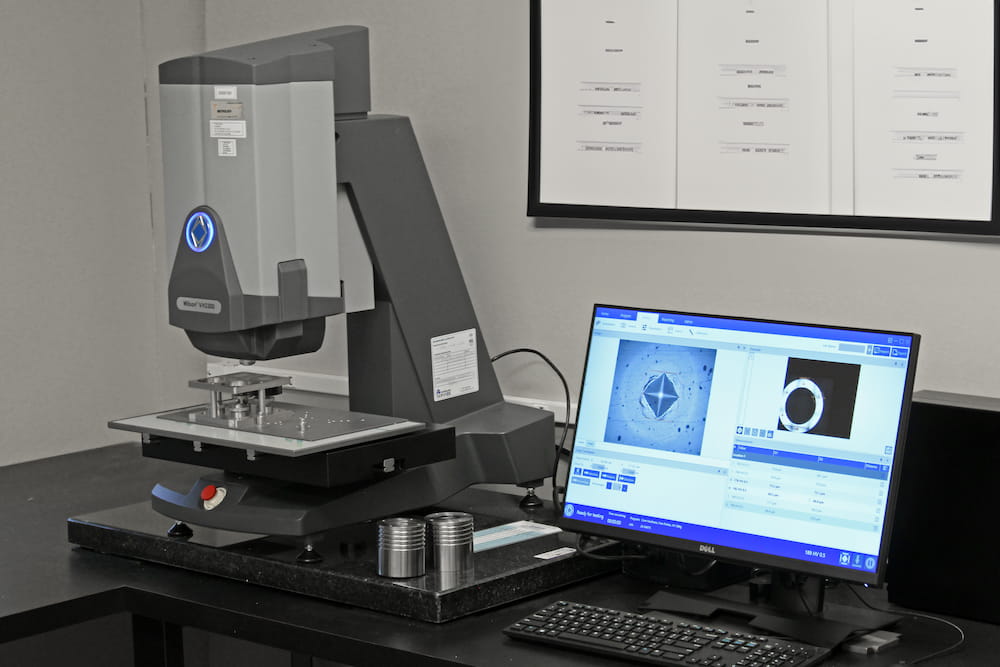
Microhardness testing determines a material’s hardness or resistance to deformation when test samples are unsuitable for macrohardness. Microhardness testing is ideal for evaluating the hardness of microscopic/thin samples, complex shapes, individual phases of material, and surface coatings/platings. The microhardness test is also an effective method for identifying depths of case-hardened layers, decarburization or carburization, grind burns, and surface contamination.

During microhardness testing, a Vickers (DPH) or Knoop (KHN) diamond indenter is pressed into the material’s surface with a penetrator. The result of applying the load with a penetrator is an indent or permanent deformation of the material surface caused by the shape of the indenter.

Hardness Testing
Types of Microhardness Testing

Knoop

Vickers

The Knoop hardness test apparatus applies a controlled force for a specific time to an indenter in a rhombus shape (elongated four-sided pyramid). The depth to which the Knoop indenter penetrates indicates the hardness of the material. The impression is measured microscopically and, when combined with the amount of the test load, can be used to calculate the hardness value on the Knoop scale. Knoop hardness numbers must indicate the load values. The Vickers hardness test is available on the micro and macro scales. Like Knoop microhardness testing, these tests apply controlled pressure for a standard time but with a square-based diamond pyramid indenter. A microscope measures the diagonal of the resulting indentation, which combines with the test load to calculate the Vickers hardness value.

Hardness Conversion Charts comparing microhardness test values to tensile strength and other hardness scales (e.g., Rockwell) are available.

Specifications
  • ASTM E92
  • ASTM E384
  • ASTM E1077
  • ASTM B578
  • ASME Sect. IX
  • MIL Specifications
  • ISO 6507 / ISO 9015

Capabilities

  • Vickers Hardness Test – micro and macro hardness with applied loads from 25 grams  to 50 kilograms
  • Knoop Hardness Test – applied loads from 25 grams to 2 kilograms
  • Test samples up to 5.5” in diameter and 10″ in height
  • Surface Contamination
  • Carburization & Decarburization
  • Case Depth
  • Profiles, including Welds
  • Accredited by PRI Nadcap and A2LA ISO/IEC 17025 and completed according to industry standards.
  • All details about the test and results reside within our Certified Test Reports.

Partner With a Leading Material Lab Testing Facility

Microhardness testing is an essential sample characterization, but it is far from the only one. At LTI, we assist with material testing logistics by providing a one-stop solution for all your primary material testing requirements. Our industry-leading expertise and top-of-the-line equipment ensure rapid, reliable results with convenient summaries in your Customer Test Reports.

  • “LTI has seriously made a huge difference…”

    LTI has seriously made a huge difference in Testing & especially Metallography. They Define Possible
  • “I know that I will be able to trust the reported values”

    LTI provides an excellent mix of material testing know how and project management. When I send LTI material to test, I know that I will be able to trust the reported values and that it will be provided to me on or before the quoted lead time. I appreciate LTI’s timely response to quotations and project status inquiries. I also trust LTI’s integrity and know that they will accurately report when testing does not go as planned.
  • “Our customer appreciates it”

    I would like to thank you and the associated departments at LTI that have helped delivered these reports in a short turnaround time. Our customer appreciates it.
  • More Testimonials

    Partner With LTI Today

    Laboratory Testing Inc. has the capacity and capabilities to handle all your material testing needs in a single location. Since 1984, we’ve aided customers worldwide with accurate nondestructive testing and precise material lab services. Request a quote or contact us today to see how our industry-leading turnaround times can keep your mission-critical approvals moving forward.

    Request a Quote